When it comes to enhancing the security and appeal of your property, installing a new door gate with grilles is an excellent option. However, the installation process can be complex and requires the expertise of a professional. That’s why we’ve put together this step-by-step guide to door gate installation, to provide you with an understanding of what to expect when working with a contractor. In this article, we’ll take you through the key aspects of the installation process…whether you’re a homeowner looking to hire a contractor or a business owner seeking to secure your premises, this guide is for you.
Step 1: Homeowner provides measurements and specifications for quote

It’s important to first determine the requirements clearly. This includes accurately measuring the width and height of the door or the entrance opening, which can be easily done using a retractable measuring tape. Additionally, carefully consider the type and colour of the gate grilles that will best meet your needs and preferences. These steps ensure that all requirements are clearly identified, and you can move forward with confidence and clarity.
Step 2: Gate with chosen grille design is fabricated
The next step in the installation process is to find a contractor who can fabricate a gate according to your specifications. Hiring a reputable contractor who knows Singapore building rules and regulations is highly recommended. Keep in mind that the gate fabrication process takes time, depending on the workload and factory capacity of the contractor. Generally, a timeframe of one to two weeks may be sufficient for fabrication.
Step 3: Frame with gate panels is installed
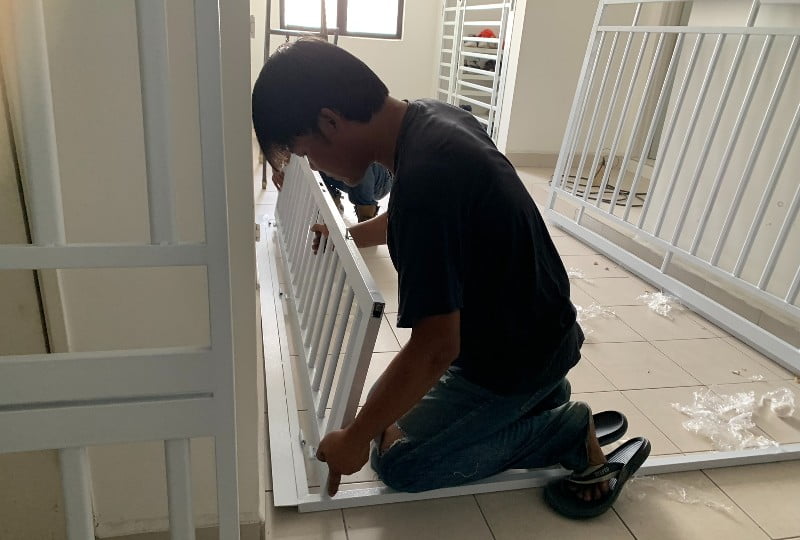
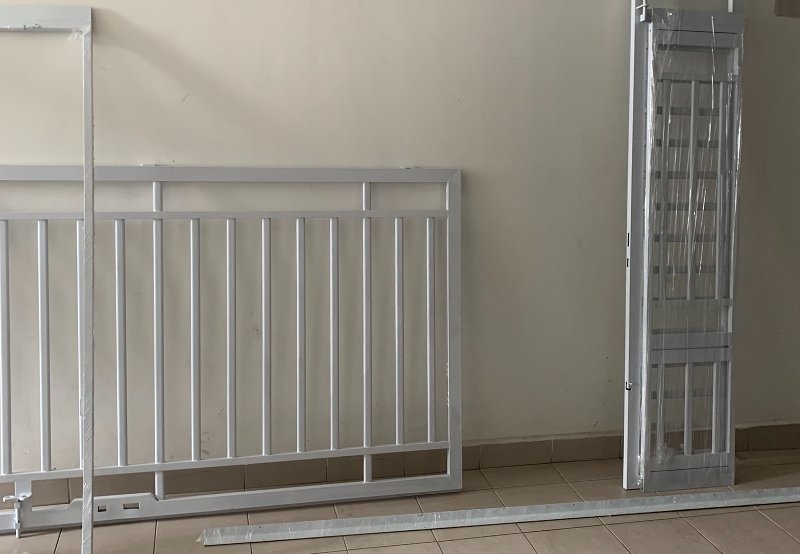
The materials – aluminium gate frame and panels with grilles are usually custom made to your measurements and prepared before the date of installation. In the case of door gates, the panels may be fixed to the frame onsite and the combined structure is then drilled to the wall opening. The picture and video above show these steps.
Step 4: Door gate head installation
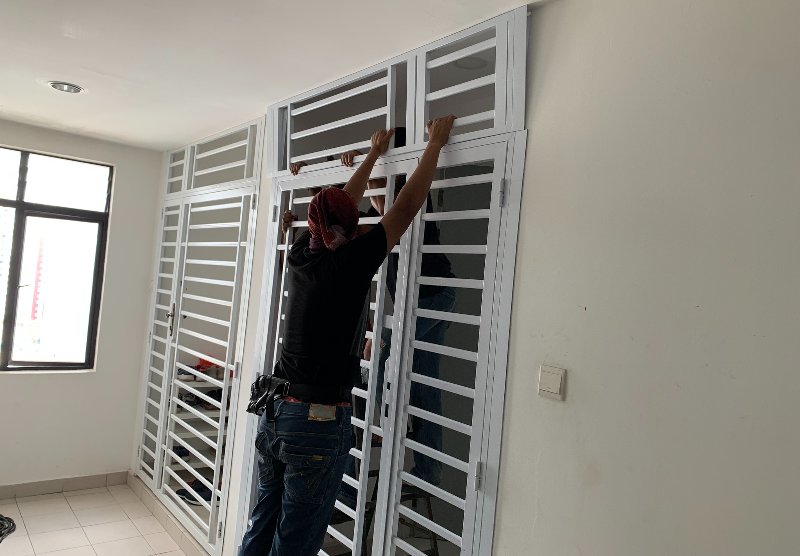
This may be an optional step since most door gates in the Singapore HDB units do not have a sectioned door gate. However, in other cases where the height is greater (as shown in the image above) the gate may have a fixed “head” section. This single panel may be the next thing to install after the main gate is installed.
Step 5: On-site adjustments (if needed)
If the fabricated gate fits snugly for your door, then onsite adjustments may not be needed at all. If it’s too off the mark, then the gate may be required to be sent back to the workshop. However, if it’s a minor adjustment then these may be done onsite by some contractors (PS: Grilles N Glass does not practice this). For example, cutting of a small section of extra metal of the gate frame is seen in the video above.
Step 6: Gate handle with two turn lock
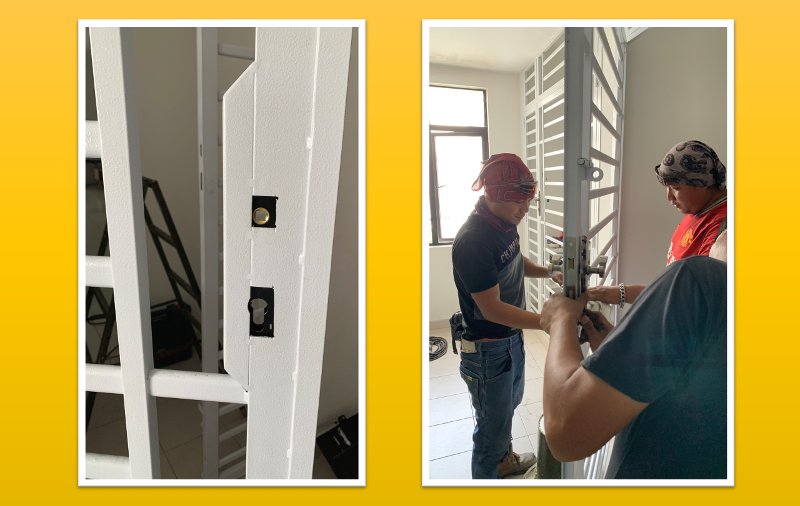
Most door gates come with lock and key that give an added layer of security. After being installed the gate handle and accompanying lock needs to be tested thoroughly for alignment and fit. Usually tow-turn locks with 3 sets of keys are provided by the contractor. Alternatively, you can opt for a digital lock which are getting more and more popular nowadays for the convenience they bring. Of course, these have to be purchased and installed separately.
Step 7: Drill bottom and top hole for the stopper
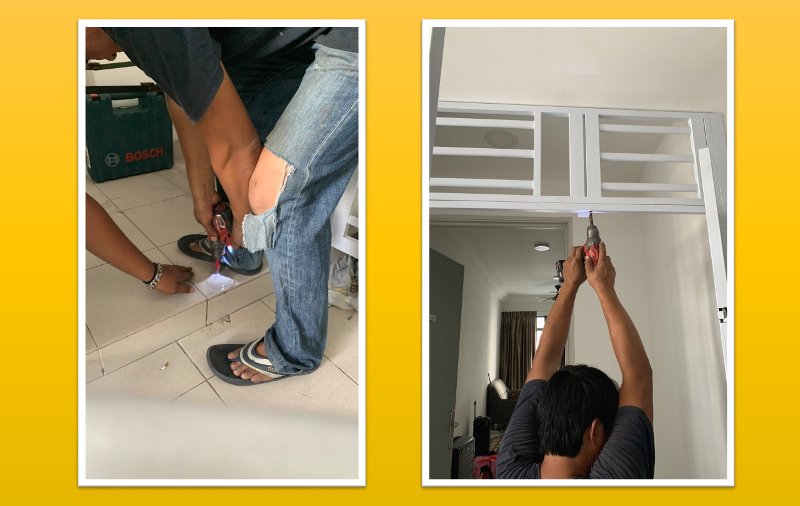
Door grilles typically include a stopper as well and this requires holes to be drilled for the locking/stopping mechanism to work. Holes will need to be drilled in the floor (bottom) and in the gate frame (top). After drilling the floor hole some amount of grinding is done to smoothen the cavity, ensure ease of locking, and to protect the flooring from operational damage in the future.
Step 8. Silicon sealing to fill the gaps
One of the last steps in the door gate installation process is to ensure that the gate frame fits in the wall opening without any gaps. This is crucial to prevent water, insects, or other unwanted elements from entering your premises. This is achieved with silicon sealant using a caulk gun. While sealant application may be done earlier in the installation process, contractors will usually do a final round of sealant after the gate is fully installed. It’s important to wait until the sealant has fully solidified before using the gate, as advised by your contractor.
Step 9. Paint touch-up (if required)
If scratches or minor damage occur during the installation process due to human error, these are generally rectified onsite with spray paint on the affected areas. You can do a final check to spot for any scratches so that touch-up can be done before the workers leave your place.
Concluding…
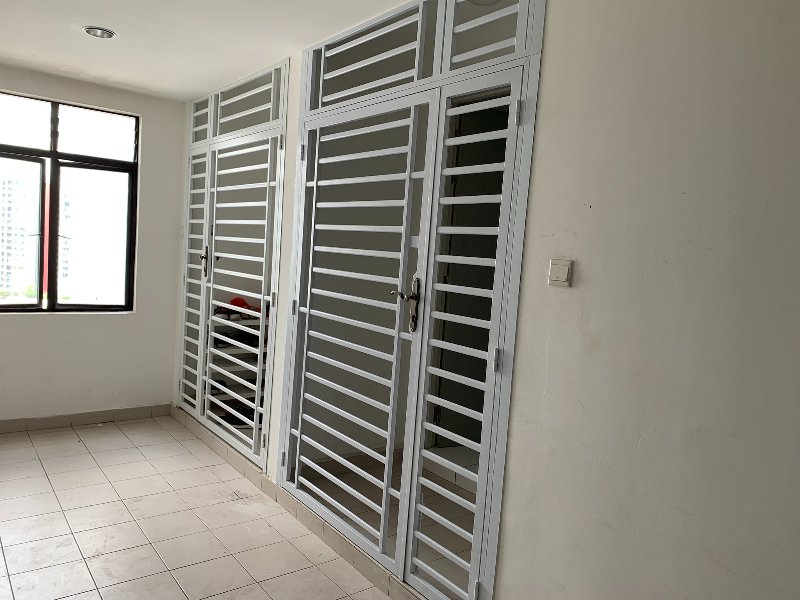
The above image shows a newly installed door grilles for a condo unit. Installing a door gate with grilles can be ideal way to ensure security and enhance the aesthetic appeal of your home entrance. If you read so far, then this guide should offer a good idea about what to expect before you engage a contactor. The friendly staff at Grilles N Glass are happy to assist if you plan to do grilles for your doors in the near future!
Get in touch
(65) 9100 8767
sales@grillesnglass.com

Looking for home décor design ideas?
Grilles N Glass is here to help you with Grilles, Doors and Glass work